Learn Together
Children will learn about melting points and the properties of water as they experiment with pouring salt and dripping colors on the ice.
Materials
- Container(s) for making ice
- Water
- Tray
- Salt
- Food coloring or watercolor
- Watercolor paper (optional)

Create Together
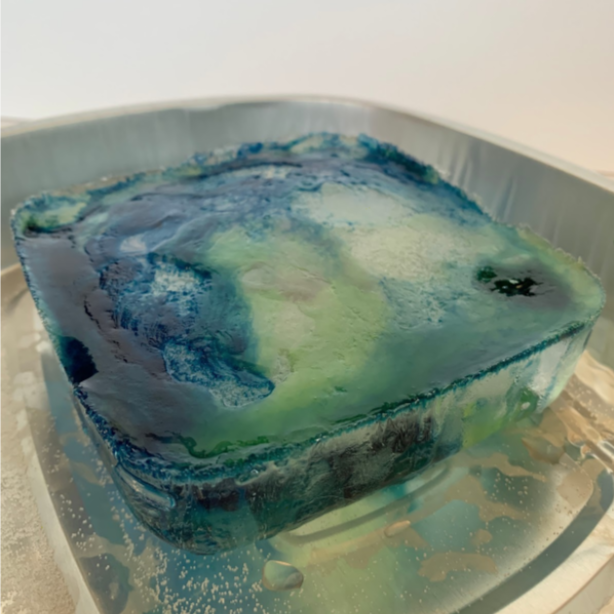
Salt is used to help melt ice during the winter months. Ice has a melting point — or a certain temperature at which a solid, like ice, will melt. The melting point is lowered by the salt which causes the ice to melt faster. In this fun experiment, we can see exactly how salt melts ice, with the use of food coloring to highlight the pathways, or “caverns”, the salt creates.
- Fill your container(s) with water. The larger the container, the larger the ice block will be. You can make a few containers of ice for this experiment.
- Let the water freeze overnight.
- Remove the ice from the containers and place on your tray.
- You can place a few sheets of watercolor paper on the bottom of the tray to create ice paintings as the ice melts.
- Pour a layer of salt over the ice. You will notice the ice will almost immediately start melting!
- Drip your food coloring or watercolor onto the ice. Watch how the colors drip down the “caverns” that the salt is creating. Try covering the entire top of the ice with colors to see how the colors drip and interact with the ice.